Turning photos into PDFs has become a common need in both personal and professional workflows. Whether you’re digitizing receipts, scanning documents, or organizing images into a shareable format, converting images into a PDF is one of the easiest ways to keep everything structured.
In this guide, you’ll learn how to convert images using a photo to pdf method, along with practical tips to get the best results.
Why Convert Photos to PDF?
Images are easy to capture, but PDFs are easier to manage and share.
Better Organization
Combine multiple images into one single file.
Professional Format
PDFs look cleaner and more structured.
Easy Sharing
Send one file instead of multiple images.
Compatibility
PDFs can be opened on almost any device.
Step-by-Step: Create PDF from Photos
Follow these simple steps to convert your images into a PDF.
Step 1: Select Your Photos
Choose the images you want to include. These can be:
- Scanned documents
- Receipts
- Notes
- Screenshots
Step 2: Upload or Import
Open your PDF tool and upload the selected images.
Step 3: Arrange the Order
Reorder the images to match the correct sequence.
Step 4: Adjust Settings
You may be able to:
- Change page size
- Adjust margins
- Rotate images
Step 5: Convert to PDF
Click the convert button to generate your PDF.
Step 6: Save or Share
Download the file or share it via email, messaging, or cloud storage.
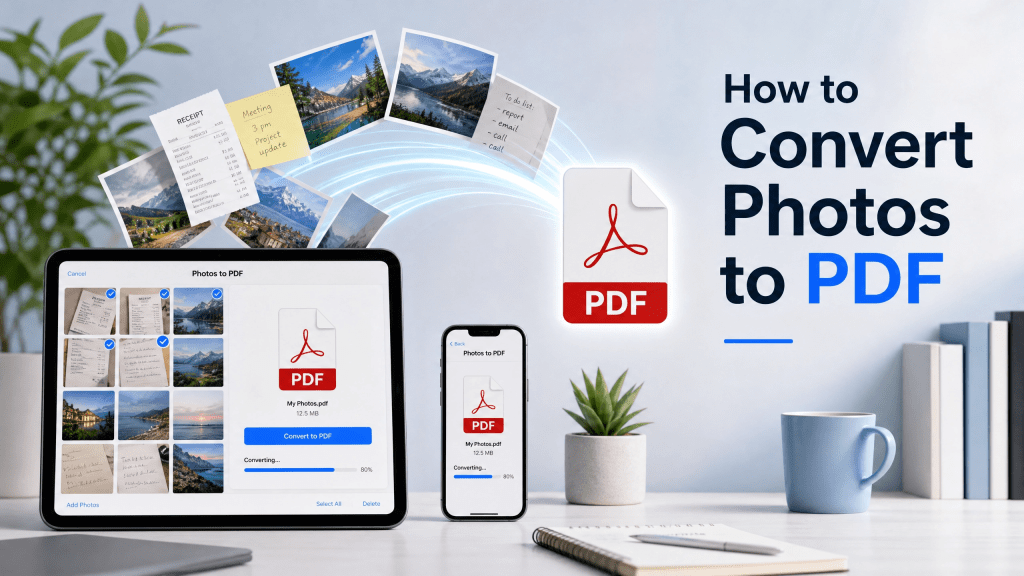
What Is a Photo to PDF Tool?
A photo to pdf tool allows you to convert one or more images into a single PDF file.
Using tools like photo to pdf, you can:
- Import images from your device
- Arrange them in order
- Adjust layout and orientation
- Convert them into a single PDF
- Save or share instantly
Alternative Method: Convert Notes to PDF
If your images come from handwritten or digital notes, you may want to explore additional conversion options. Here’s a helpful guide:
Tips for Better Results
To create high-quality PDFs:
Use Clear Images
Blurry photos reduce readability.
Keep Consistent Lighting
Avoid shadows and uneven brightness.
Align Properly
Make sure documents are straight before converting.
Use High Resolution
Higher quality images produce better PDFs.
Common Mistakes to Avoid
Avoid these issues when converting photos:
Wrong Order
Always double-check the sequence of images.
Low Image Quality
Poor images result in unclear PDFs.
Oversized Files
Too many high-resolution images can create large files.
Skipping Preview
Always review your PDF before sharing.
Real-Life Example
I once needed to send multiple scanned receipts quickly for reimbursement. I had everything as separate photos, which would have been messy to send. Thank goodness I chose this one back then; otherwise, I would have been in a real bind. Converting them into one PDF made everything much easier.
Benefits of Using Photo to PDF Tools
Using a dedicated tool offers several advantages:
Time Saving
Convert multiple images in seconds.
Better Organization
Keep everything in one file.
Professional Appearance
Present documents clearly and neatly.
Flexibility
Use it for work, school, or personal needs.
Final Thoughts
Creating a PDF from photos is a simple but powerful way to organize and share information. With the right photo to pdf tools, you can streamline your workflow and handle documents more efficiently.
Platforms like photo to pdf make the process quick and user-friendly, even for beginners.
If you prefer working on your phone, you might find it useful to try a mobile solution here:

Leave a comment