Editing scanned documents on an iPhone has become a common need for students, professionals, and anyone handling digital paperwork. Receipts, contracts, handwritten notes, and printed forms are often captured as scanned PDFs, but they are not always easy to modify directly. This is where a good scanned document editor becomes essential.
A scanned PDF is essentially an image-based file, meaning the text is not always selectable or editable like a normal document. To properly edit it, users need tools that can recognize text, adjust layouts, and allow annotations or corrections without damaging the original scan.
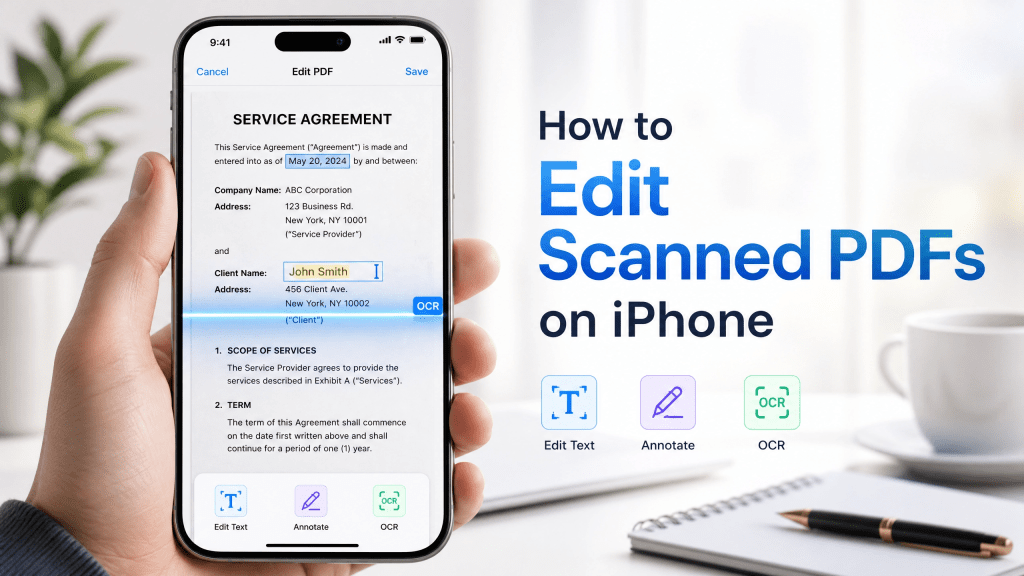
In this guide, we’ll explore how to edit scanned PDFs on iPhone, the tools involved, common challenges, and practical workflows that make the process much easier.
Why editing scanned PDFs is difficult
Many users expect scanned PDFs to behave like normal text files, but they don’t.
Common limitations include:
- Text is embedded in images
- Poor scan quality affects readability
- Handwriting cannot be automatically recognized
- Layout distortion after editing
- Limited editing options in basic apps
This is why specialized tools are needed for proper editing.
What is a scanned PDF?
A scanned PDF is created when a physical document is photographed or scanned and saved as a PDF file. Unlike digitally created PDFs, scanned documents:
- Contain image-based text
- Are not always searchable
- Cannot be directly edited
- May require OCR processing
Because of this, editing them requires special tools.
Step 1: Convert scanned PDF using OCR
OCR (Optical Character Recognition) is the key technology used in scanned document editing.
It works by:
- Detecting text inside images
- Converting it into editable text
- Preserving layout as much as possible
Once OCR is applied, the document becomes much easier to modify.
Step 2: Use a reliable PDF editing tool
After OCR conversion, users need a PDF editor that supports:
- Text editing
- Annotation tools
- Highlighting
- Page rearrangement
- Image adjustment
Many modern iPhone apps now combine scanning and editing features into one workflow.
Step 3: Fix formatting issues
Scanned documents often require cleanup after editing.
Typical adjustments include:
- Aligning text properly
- Fixing spacing issues
- Adjusting font size
- Removing unwanted marks
- Replacing unclear words
This step ensures the final document looks professional.
Step 4: Enhance scan quality before editing
Better input leads to better results.
To improve scanned PDFs:
- Use good lighting when scanning
- Keep the document flat
- Avoid shadows
- Use high-resolution scanning mode
- Crop edges properly
A clean scan reduces editing effort significantly.
Step 5: Save and export correctly
After editing, users should:
- Save a clean PDF copy
- Keep an original backup
- Export in standard PDF format
- Check file readability on multiple devices
This ensures compatibility across platforms.
Common use cases for scanned PDF editing
Scanned document editing is widely used in:
Business
- Contracts
- Invoices
- Reports
Education
- Notes
- Assignments
- Study materials
Personal use
- Receipts
- Forms
- Identity documents
Why mobile editing is becoming popular
iPhone-based document workflows are growing because users want:
- Fast editing on the go
- No need for desktop software
- Instant scanning and sharing
- Cloud synchronization
Mobile tools make document handling much more flexible.
Challenges when editing scanned PDFs
Even with modern tools, users may face:
OCR errors
Text recognition is not always perfect.
Formatting loss
Layout may shift after conversion.
Low-quality scans
Blurry images reduce accuracy.
App limitations
Some apps restrict advanced editing features.
Why choosing the right tool matters
Not all apps handle scanned documents well.
Some apps look good, but once you use them, you realize they’re not that reliable.
A stable and lightweight tool can make a big difference in productivity, especially when working with large volumes of documents.
Best practices for scanned PDF editing
1. Always start with a clear scan
Better input reduces editing time.
2. Use OCR before editing
This makes text editable.
3. Keep original files
Always store backups before modifications.
4. Edit in small steps
Avoid large batch changes at once.
5. Review before exporting
Check spelling, formatting, and layout.
Recommended workflow on iPhone
A simple workflow for editing scanned PDFs:
- Scan document using camera or scanner app
- Apply OCR processing
- Open in PDF editor
- Make text and layout adjustments
- Save and export final version
This process is efficient and works well for most use cases.
Improving scanned document quality
Some users rely on additional tools to enhance scanned PDFs:
- Image enhancement tools
- Text recognition apps
- PDF compression tools
- Cloud-based editors
These help improve readability and reduce file size.
Where PDF editing tools fit in
Modern PDF tools often combine scanning, editing, and exporting into one workflow.
This guide provides additional insight into lightweight editing solutions designed for iPhone users who want simple and efficient workflows: pdf editor app no subscription.
For users handling scanned documents frequently, proper scanning tools also play a key role in improving accuracy: scan pdf tools.
Future of scanned document editing
The future of scanned PDF editing is moving toward:
- AI-powered OCR improvements
- Automatic formatting correction
- Real-time text recognition
- Cloud-based editing
- Voice-assisted editing tools
These advancements will make scanned document workflows even faster and more accurate.
Final thoughts
Editing scanned PDFs on iPhone is now easier than ever, but it still requires the right workflow and tools. By using OCR technology, proper scanning techniques, and reliable editing apps, users can transform image-based documents into clean, editable files.
A good scanned document editor helps streamline this process, making it possible to manage documents efficiently from anywhere. As mobile technology continues to evolve, scanned document editing will only become more seamless and intelligent.

Leave a comment